Reduced water usage print washer
Building a print washer for a darkroom without running water
Why?
I had a bit of an issue. The only room in my house which is easily used as a darkroom, is on the opposite side of the house from the rooms with running water. This left me with a couple options: Save up my prints in a water bath and wash them all at once, or carry dozens of gallons of water in 5 gallon buckets back and forth across the house and spend most of my time doing that, rather than printing. I attempted the former, but I would lose track of time, and my RC paper would tend to swell and start to separate from the base.
I needed another solution. I thought about running temporary hoses and using in-line or submersible pumps to move water back and forth, but that would possibly be prone to leaks, and be a trip hazard. I also thought about running pipes through the outside wall, but that would be way too much work.
Another sticking point in all of this, was to try to use as little water as possible to wash my prints, while still washing them well enough. I didn’t want to leave the fixer in the paper for it to deteriorate my prints over time, but I didn’t want to waste several gallons of water (and a bunch of trips across the house carrying full buckets) for each individual print. Reducing my water usage is pretty important, since it saves me money, and lowers my impact on the environment.
My Solution
Glancing around my darkroom (which is also a storage area) I noticed some old halloween decorations in some old Rubbermaid Roughneck 18 gallon storage bins, and the idea started to form to build a recycled-water washer. Looking around a bit more I found some tubing, and a cheap submersible pump. I also had a paterson wash tray I had been using in the bathtub when I tried the water bath holding tray setup.
These all came together into the first revision of the washer.
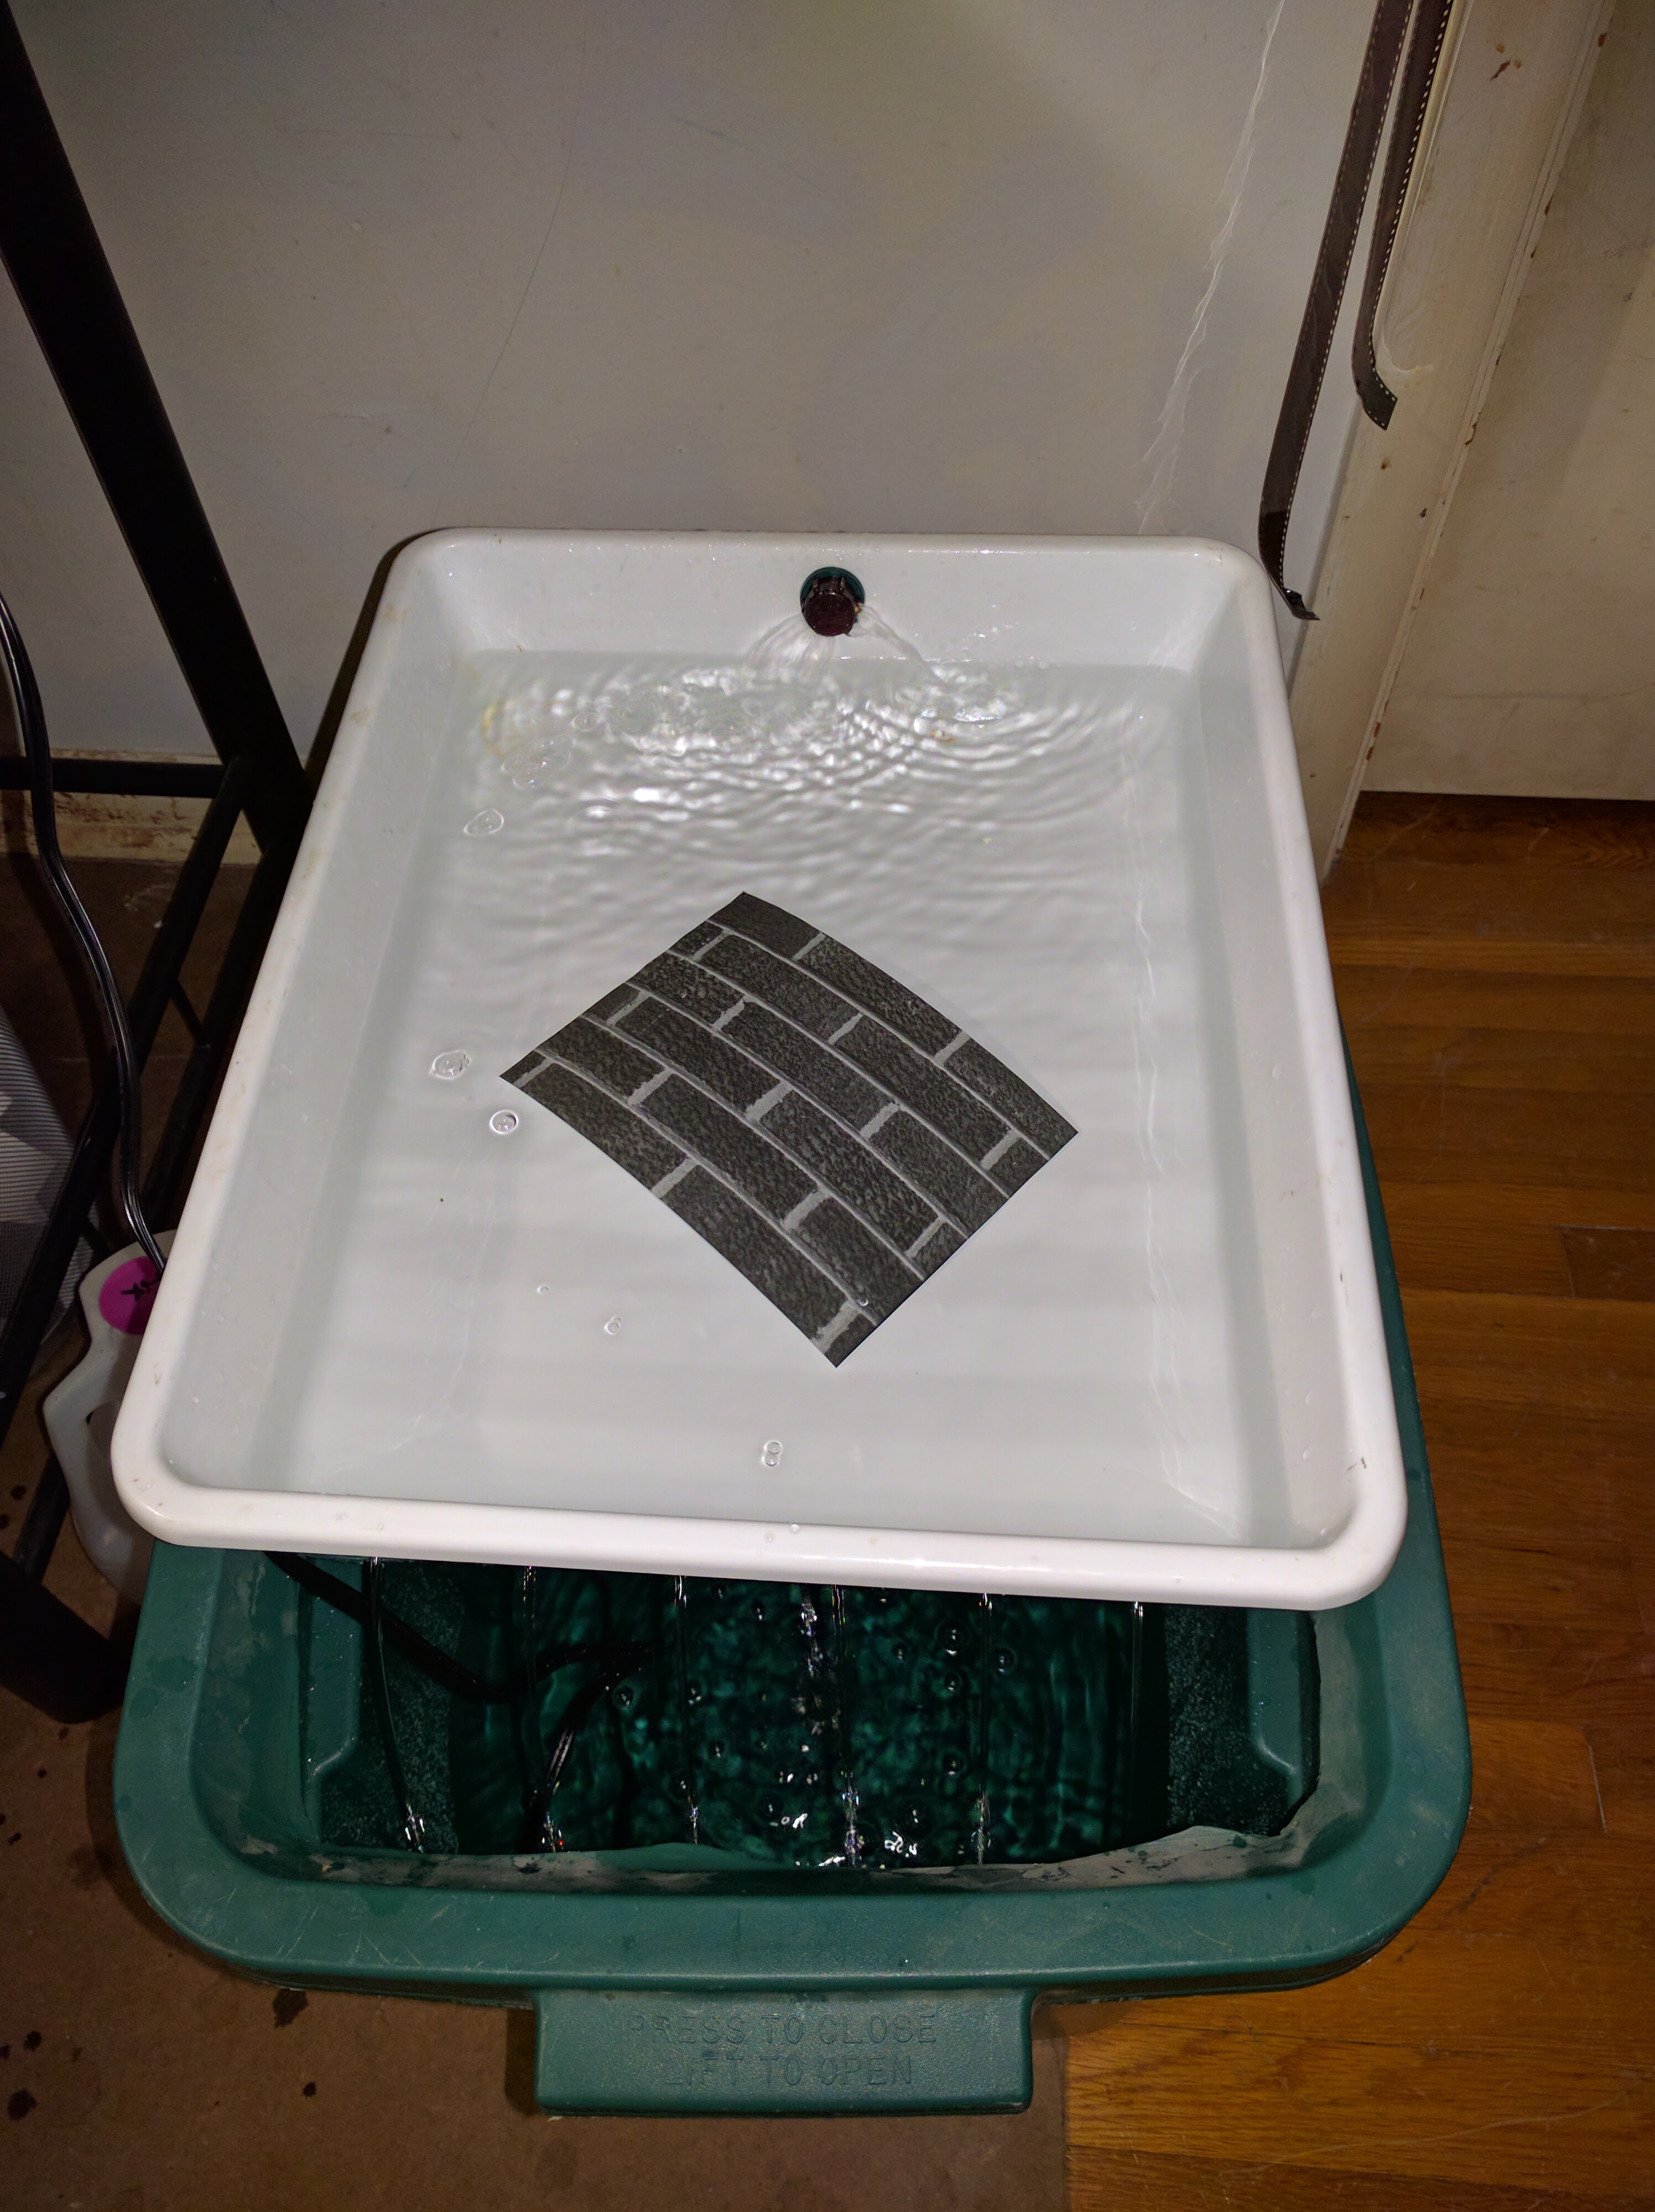 This washer would re-use the same water until the water was refreshed. It was good for about 15 or so 8x10 prints, with a pre-rinse, before half the water would need to be replaced.
I took two of the bins, one nested inside the other (for structural stability once water was added). The wash tray was placed on one of the lids, and the lid was marked for a hole for the water to drain back into the bin, as well as a hole for the tubing that connects the washer to the pump. The holes were simply cut out of the lid with a pocket knife.
The tray supply hose was attached to the pump with a bit of hot glue and patience (the glue did not want to stick to the tubing). I filled the reservoir with water, crossing my fingers that the bins wouldn’t split and spill almost 20 gallons of water onto my upstairs hardwood floors, plugged in the pump, and everything was good!
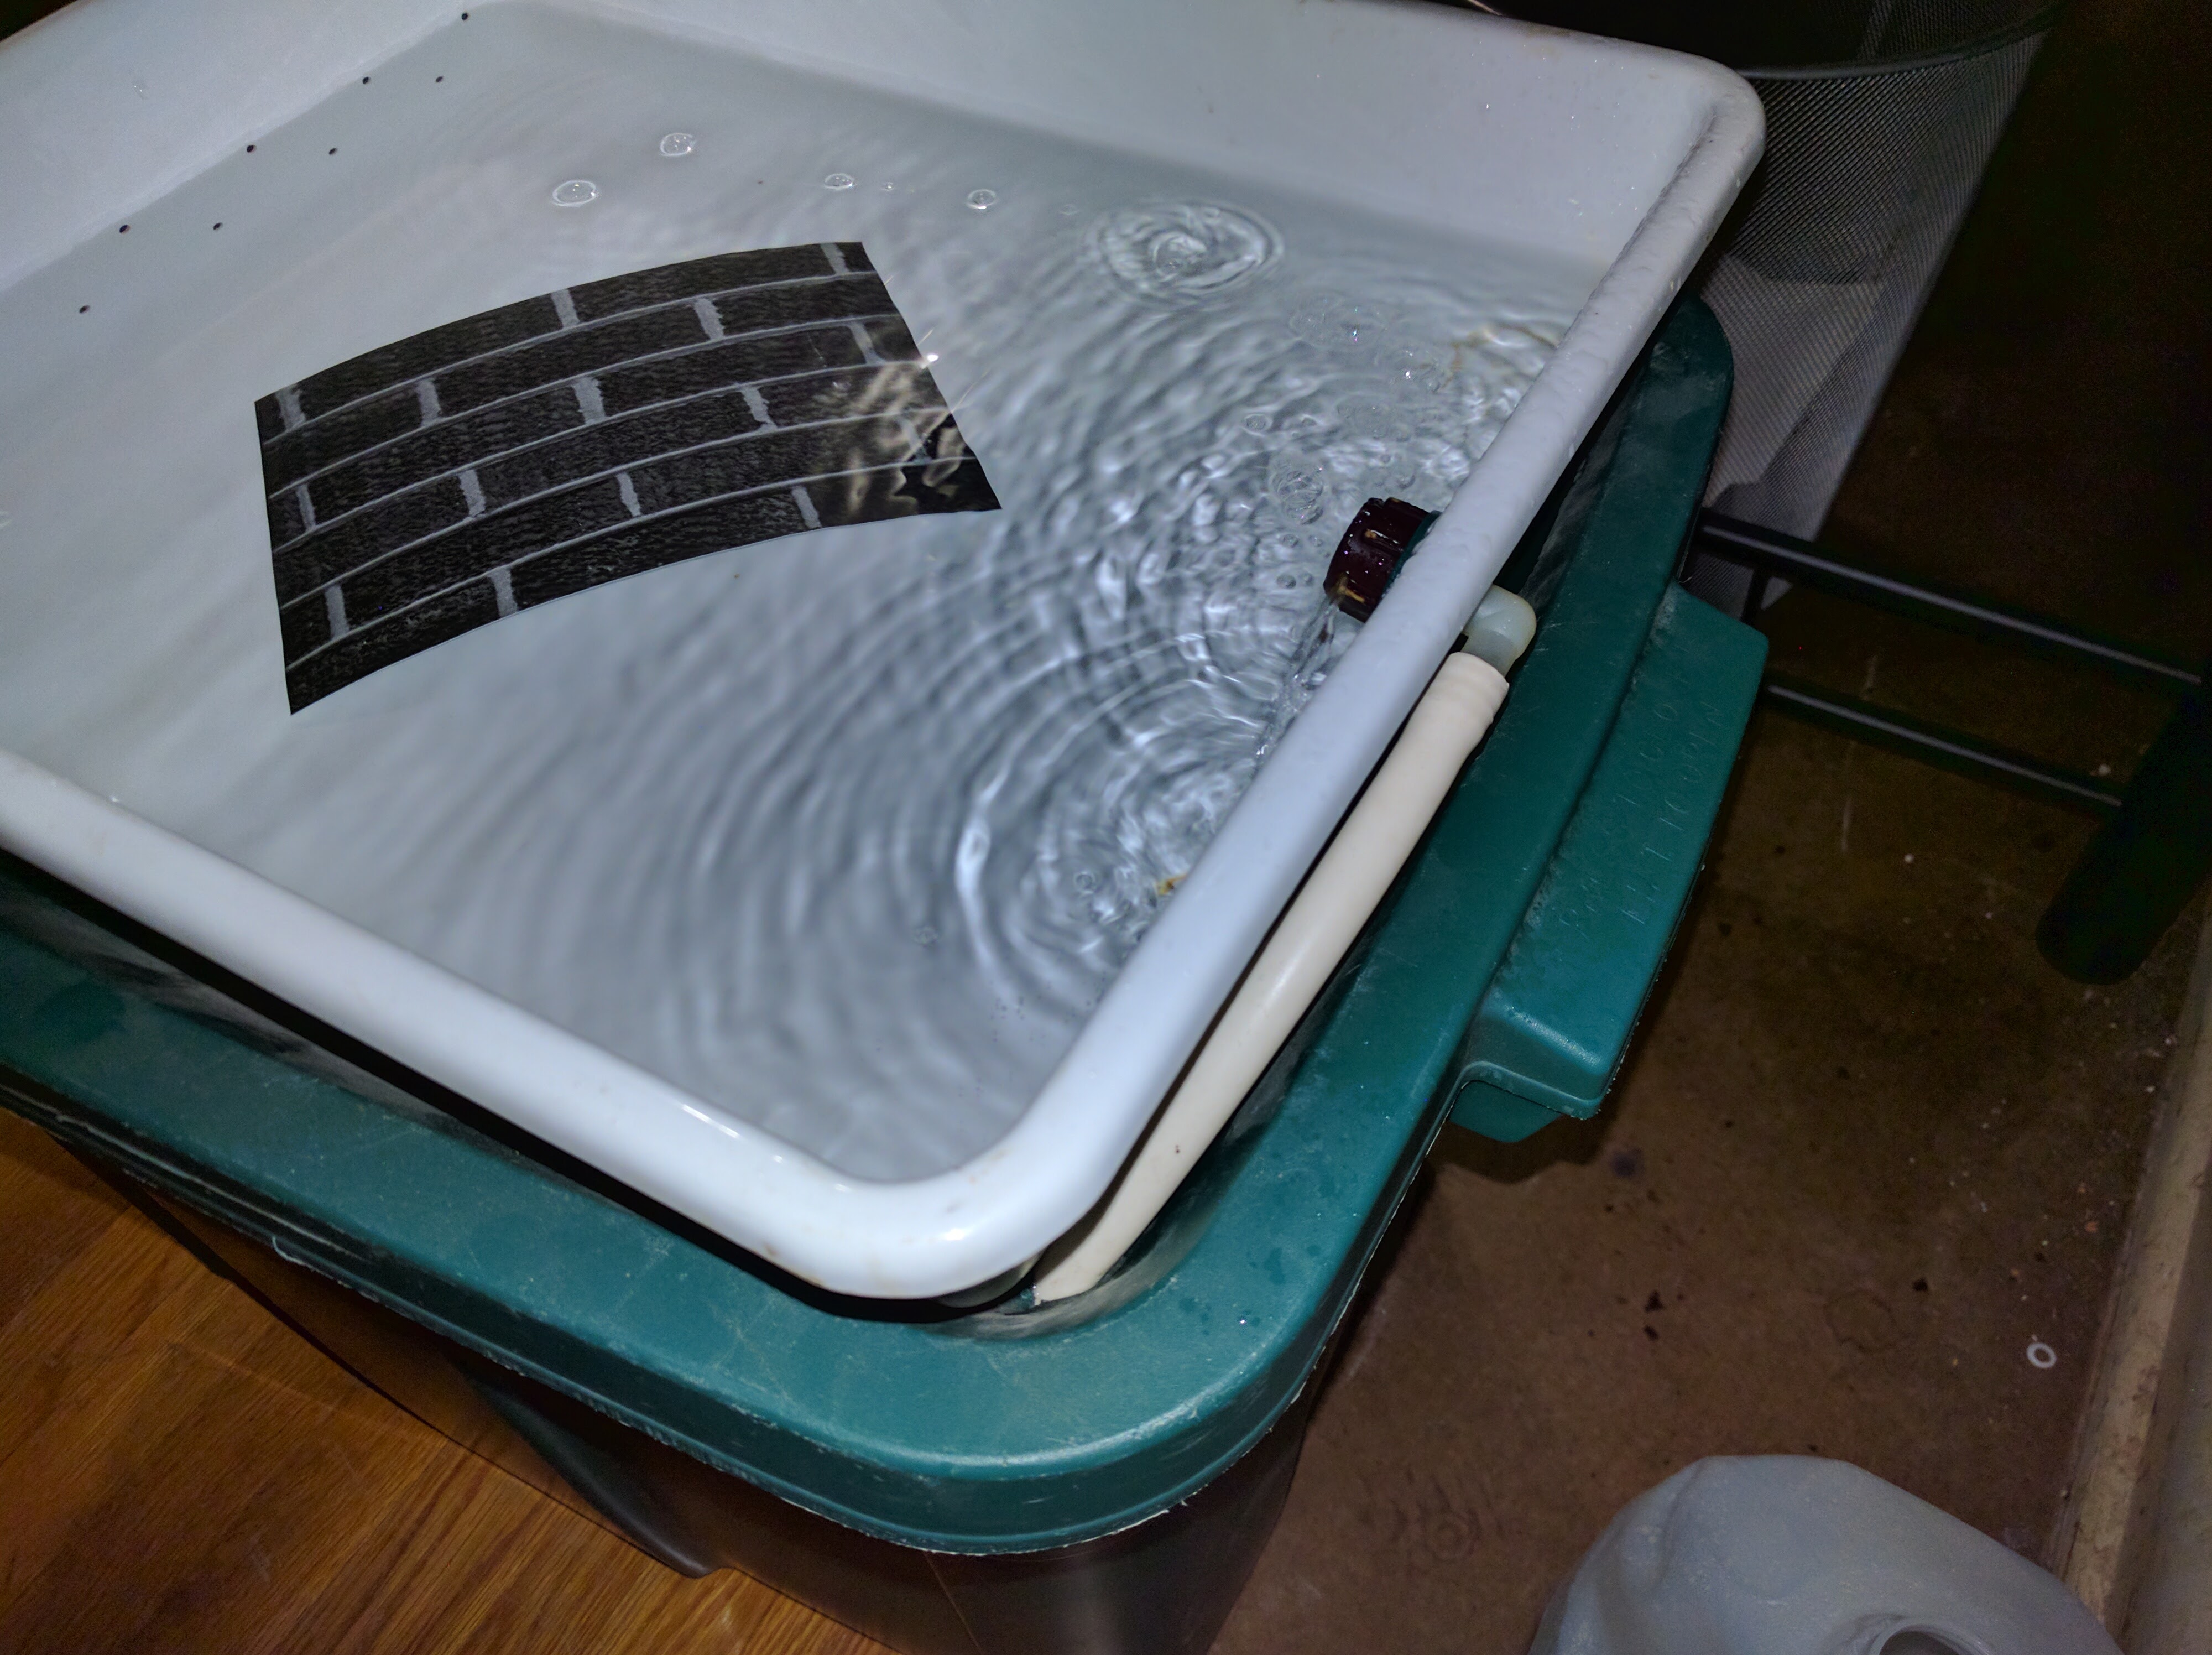
I used this setup for about a year, testing the prints with a Residual hypo test to make sure that I wasn’t waiting too long to change the water. Over time with lots of testing, I came to the conclusion that I could wash about 15 8x10 pre-rinsed prints before needing to replace the old water with fresh water. This meant I could have longer printing sessions without stopping and schlepping water around, or dragging a tray full of water to the bathroom for washing.
To replace the water, I had a second submersible pump which was used to drain the water reservoir into buckets which could be carried to the bathroom and dumped, and when new water was brought in, it would be used to empty the buckets of the fresh water into the reservoir without me having to carefully pour it through the small hole in the lid of the bins. This worked well for the year I used it, but I wanted more. I wasn’t satisfied.
The Improvement
I was thinking of ways I could process the water. I was having some issues with iron bacteria creating pink slime on the inside of the bins and the wash tray. It didn’t seem to have any effect on the prints, but it was pretty grimy looking and feeling. I also had some issues with sediment from my pipes getting caught in the wash tray and transferring to my prints. Needless to say, this had to be fixed.
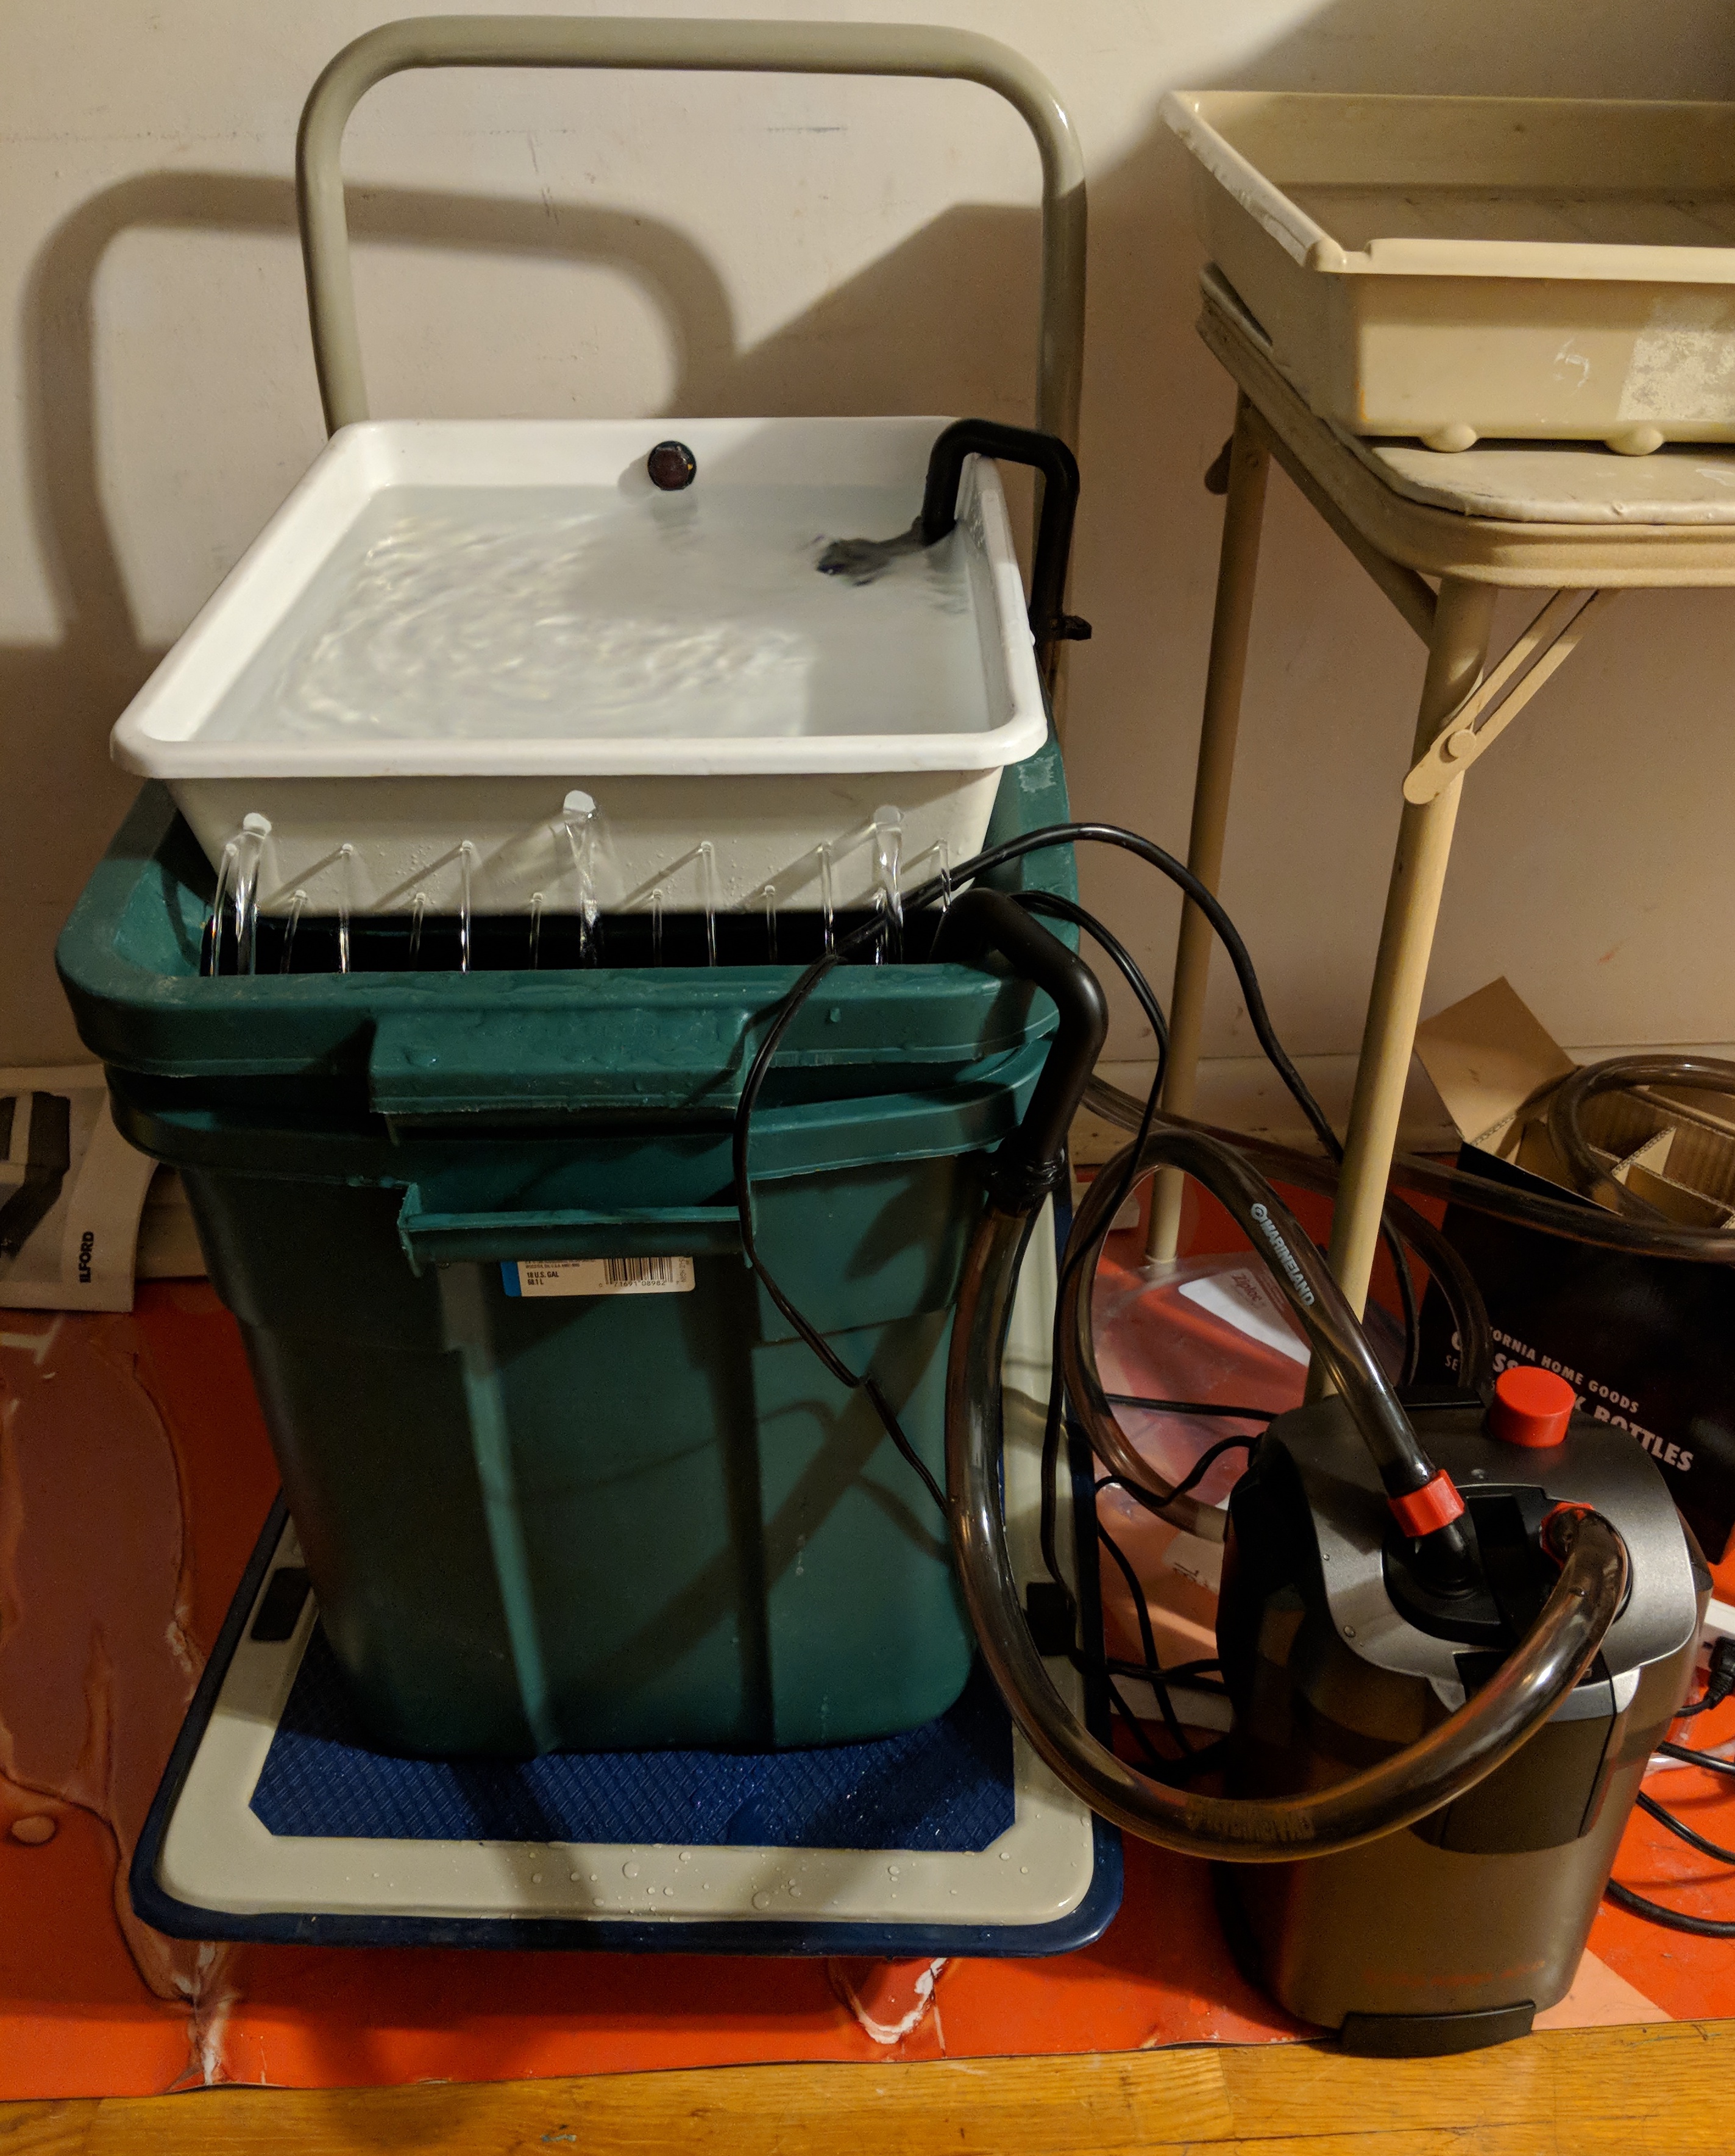
I decided that I needed a mechanical and chemical filter for the water, and that filter would need a decent capacity so it wouldn’t need a lot of maintenance. The mechanical filter was easy: some poly-fil or some cotton fabric in-line with the water flow to catch any bits. The chemical filter took a bit of research, but I finally decided on using activated charcoal to remove the thiosulfate compounds from the water. This is the same material that is used in brita water filters, under-sink water filters, and pretty much every aquarium filter out there. It works well, is inexpensive, and is easy to get.
I found an inexpensive aquarium canister filter and loaded it down with activated charcoal in all three trays. The charcoal removes the thiosulfate compounds (fixer) from the water through adsorption, and holds on to them. It is a fairly efficient way to remove the fixer from the wash water and be able to re-use the water for a long time. The canister filter also has its own pump, which removes the need for the separate submersible pump to feed the tray, and allows me to get the filtered water directly into the wash tray, removing the chance of sediment in the tray or on my prints.
The filter was easy to set up, with three individual stacking trays to fill with filter media. I placed a small amount of poly-fil in the bottom of each tray, filled the tray to about the half-way point with activated charcoal, and topped off with a bit more poly-fil. You will want to give these a good rinse in running water to wash away the charcoal dust and leave the granules in place, then stack the trays in the canister and put the lid on. The hardest part for me was priming the pump, but follow your manufacturer directions for that step, depending on the filter you get (I only had to prime mine once, it stays good as long as the hoses don’t drain out between uses).
The tray I was using didn’t have quite enough drainage for the flow of the pump on the filter, so a couple more holes were drilled above the factory drain holes to prevent the tray from simply overfilling. The outlet of the filter was placed at the back of the wash tray, with the inlet being fed from the tub.
I also got an inexpensive rolling cart from (bottom of the) Harbor Freight to put the entire washer on, to make it easier to change the water when it is needed, as I can just roll the whole washer across the house, and use the old submersible pump to transfer the water in/out.
The Results
I am now using dramatically less water for washing my prints. In my testing so far, I have washed 28 8x10 prints, 20 11x14s, a few 8x8s, and quite a few test strips, all on the initial 18 gallon fill, and initial ~600g of activated carbon. I have been testing my prints regularly for residual hypo with the formulary kit (along with testing older control prints to verify that the test kit is working), and getting no color change whatsoever so far. I’m going to keep going and will update this post with my results, to see how far the carbon will go, and how far the water will go. My prints also no longer have the gritty sediment on their surface, and come out very clean.
I fully expect this to reduce the amount of water that I use for printing, reducing my environmental impact, and reducing my utility bill. This is a win in my book.
The Future
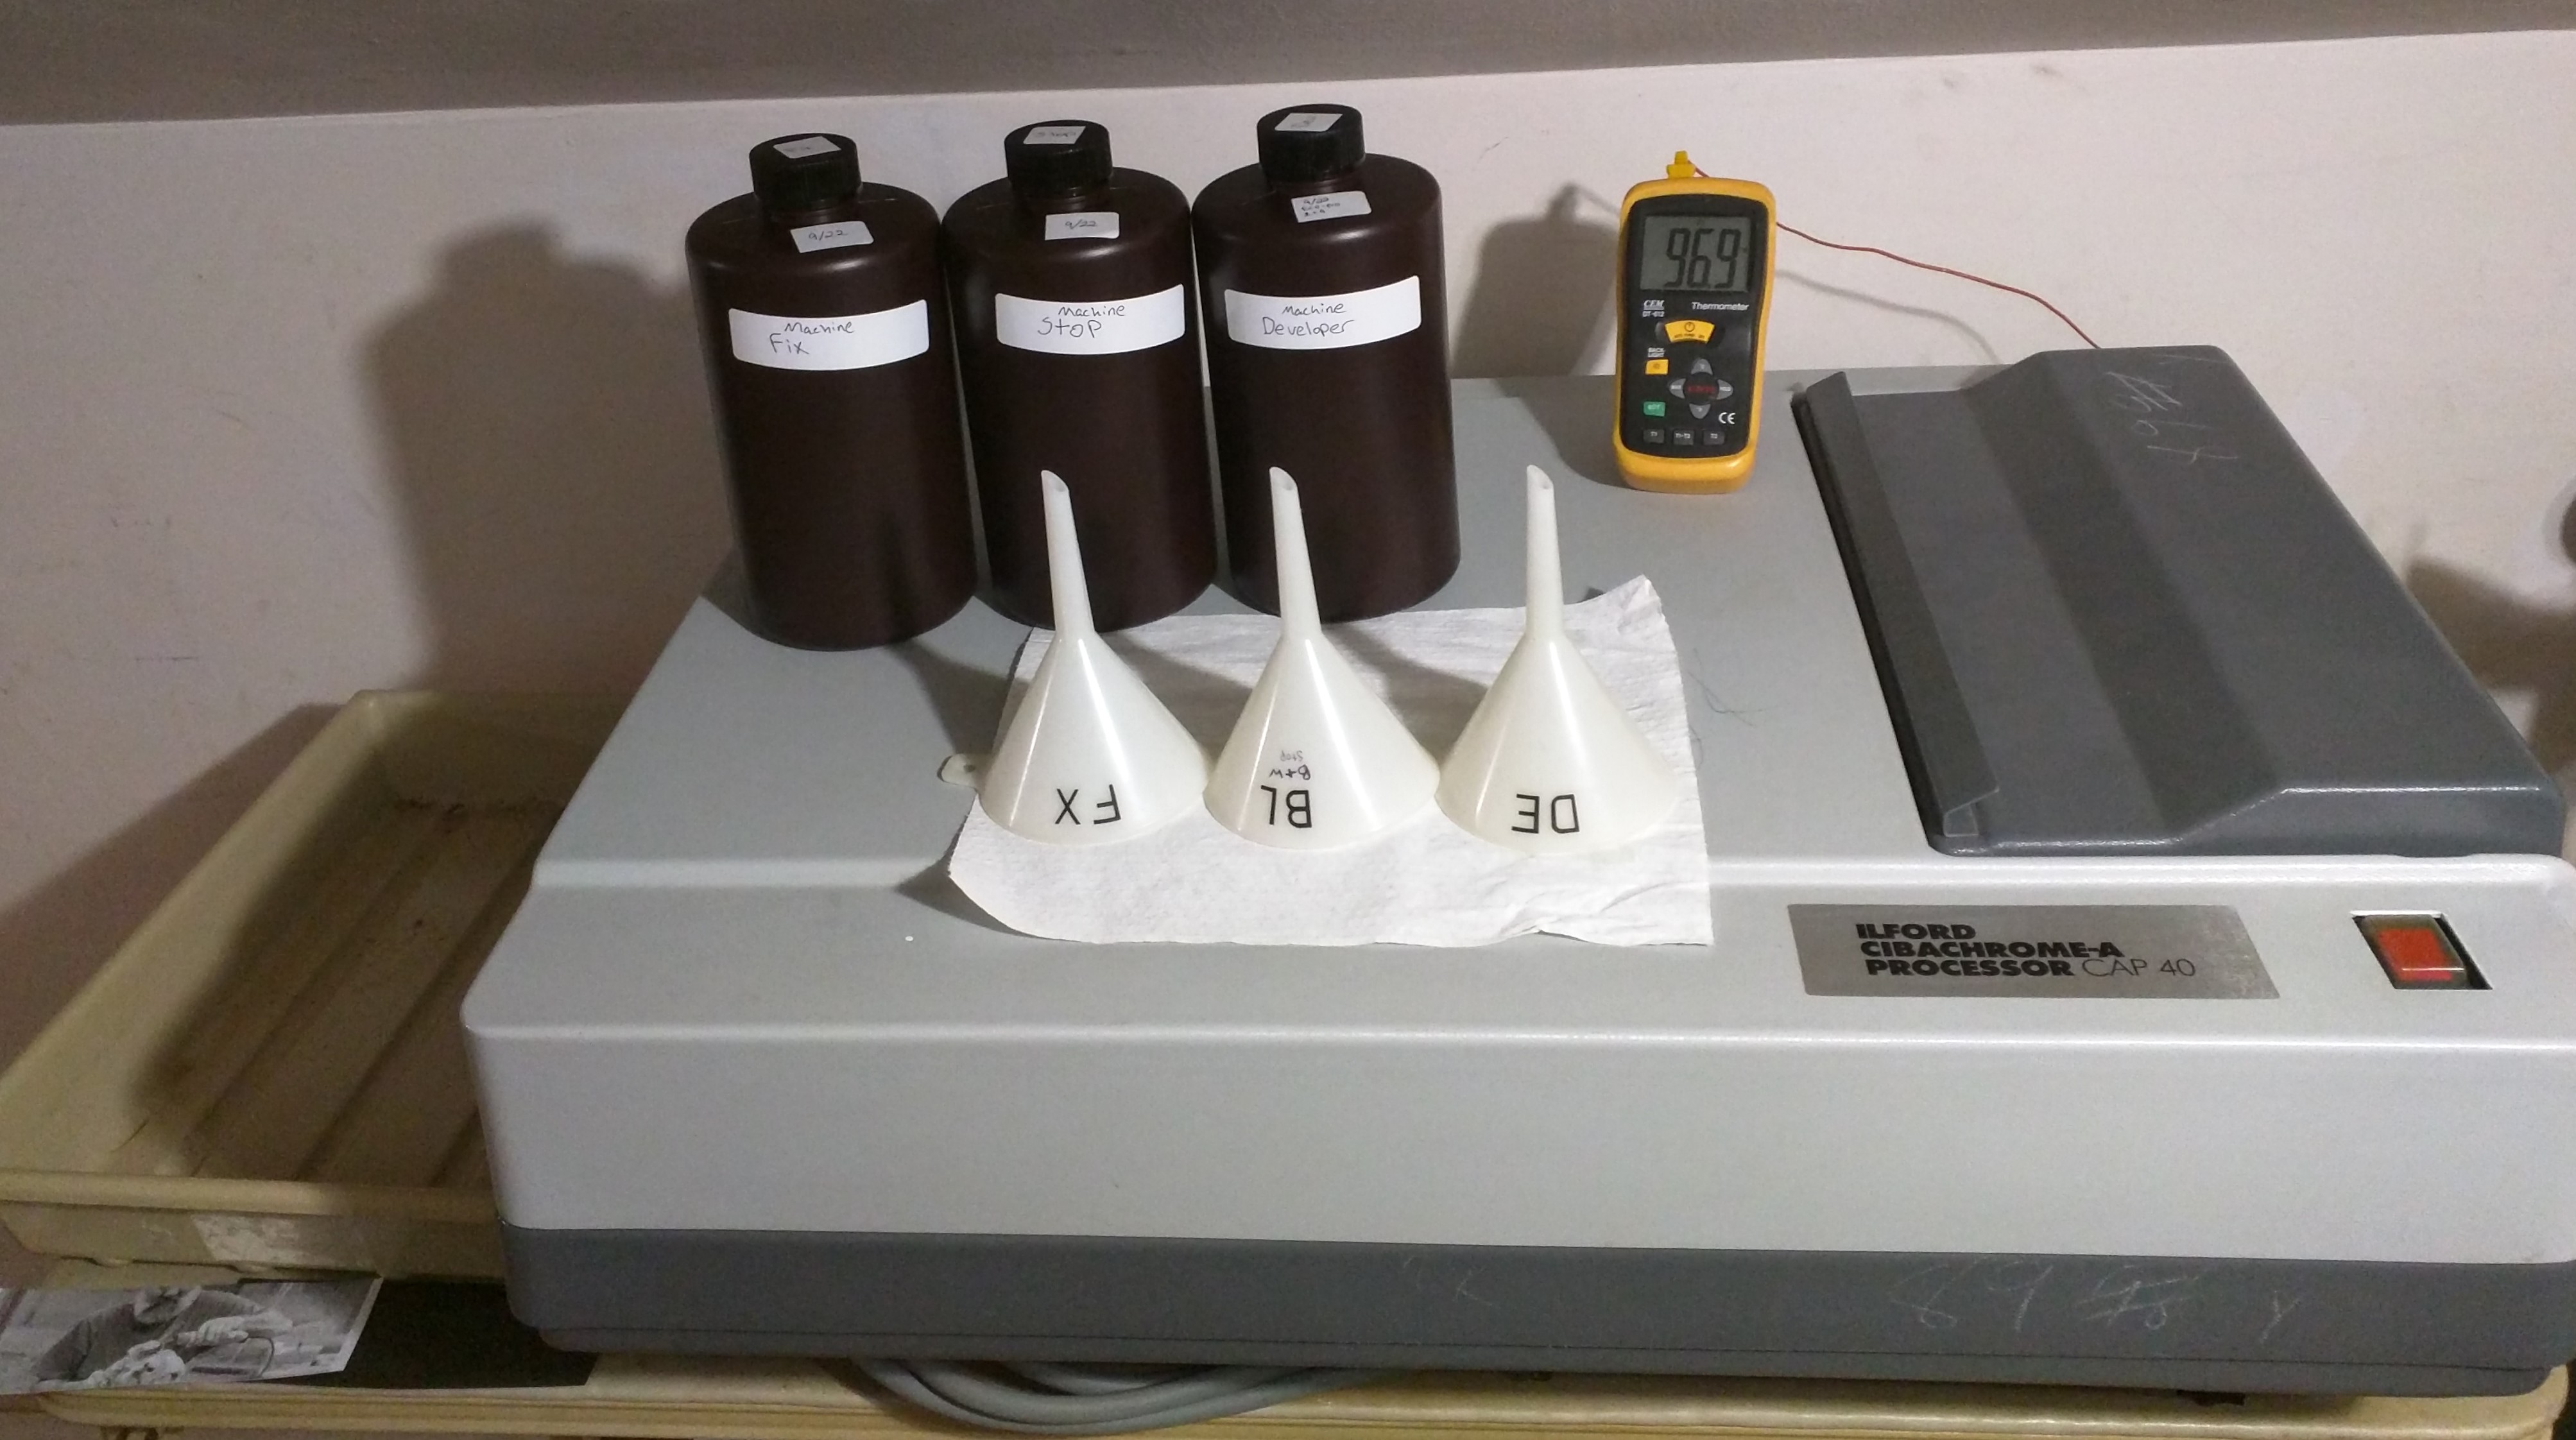
There are more things I want to do with this in the future, including upgrading the water reservoir, and potentially upgrading the size of the wash tray so I can accommodate larger prints (my processor does 16x20, so thats going to be my goal). I am also thinking of building either an addon, or a separate system to wash film as well. I use the Ilford method for film, but would love to just drop my SS reels into a tube and automate that process.

Share this post
Twitter
Google+
Facebook
Reddit
LinkedIn
StumbleUpon
Pinterest
Email